1. Creating a job
There are different ways to create a job in PlanManager. Assume that a job is a damage on a car! Here are the different possibilities to create a new job in PlanManager:
1.1 Manually in PlanManager
1.1.1 First way
The first way to create a new job in PlanManager is by clicking on the 'New' button in the top left of your job list.

In order to create a new job, it takes at least the license plate of the vehicle as well as the location (if you are working on a PlanManager with several locations). Then click on the little floppy down right in order to save this file.

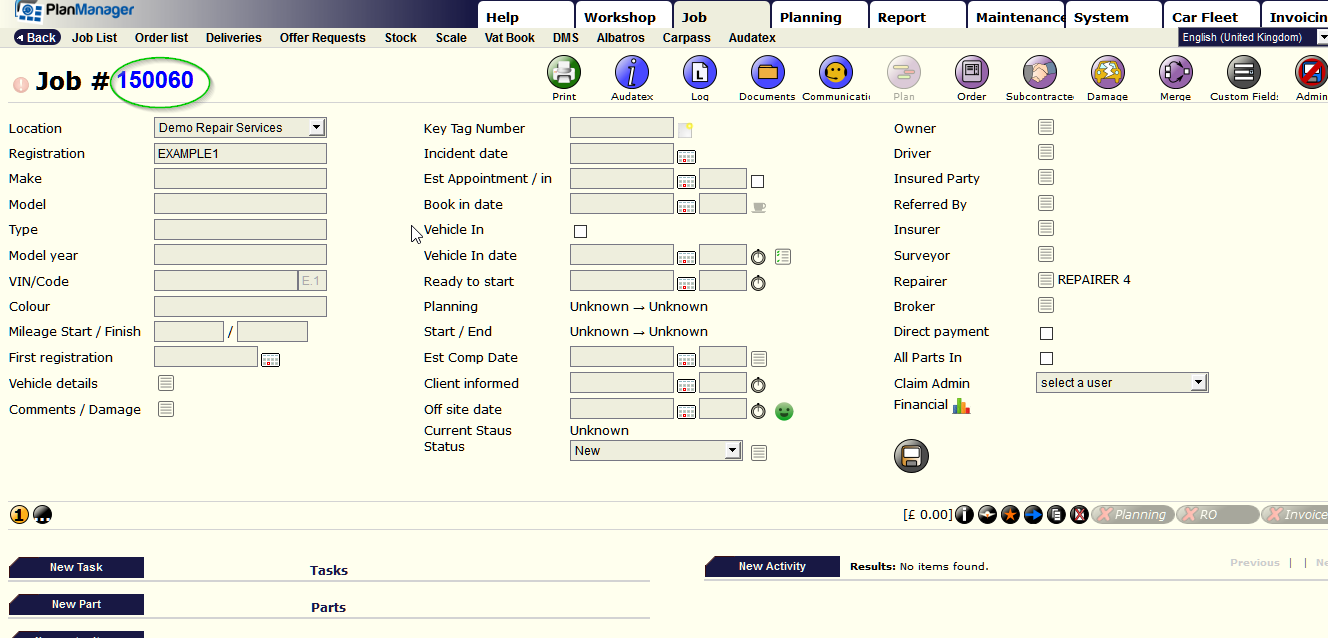
Once registered, your file will make a file number (which follows the last number of your job list), and additional information to the file screen will appear.
1.1.2 Second way
When you are on your list of jobs, if you introduce a license plate in the PlanManager filter that is not known, you will see the following screen:
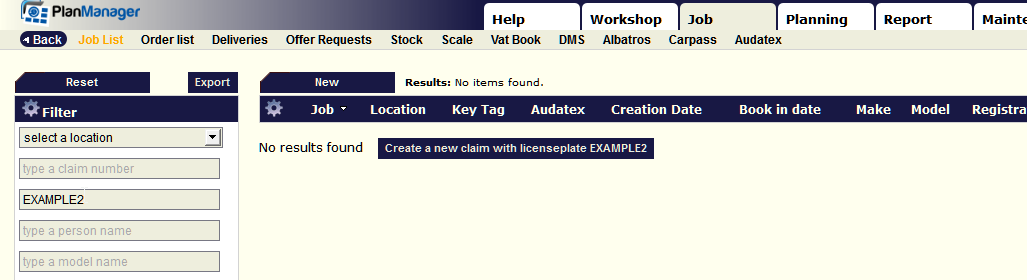
When you click on the button "create a new claim with license plate XXXXXX" PlanManager will directly take this license plate to create a new job. (Same procedure as before if you work with different locations).
1.2 Manually from the app Inspector
If you use the Inspector app, you can create your new jobs directly from your mobile device (mobile phone, Tablet, camera...).
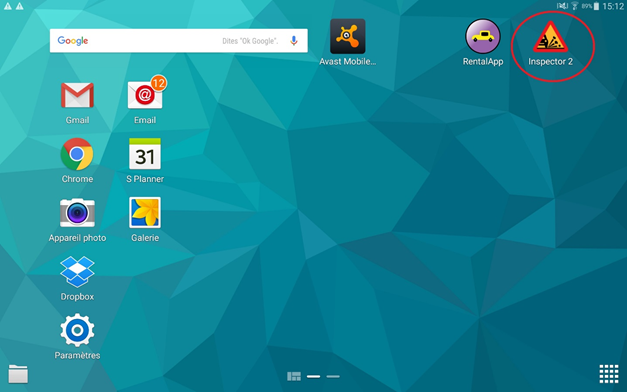
Click the Inspector application
When you open the app, you will get a screen similar to this:
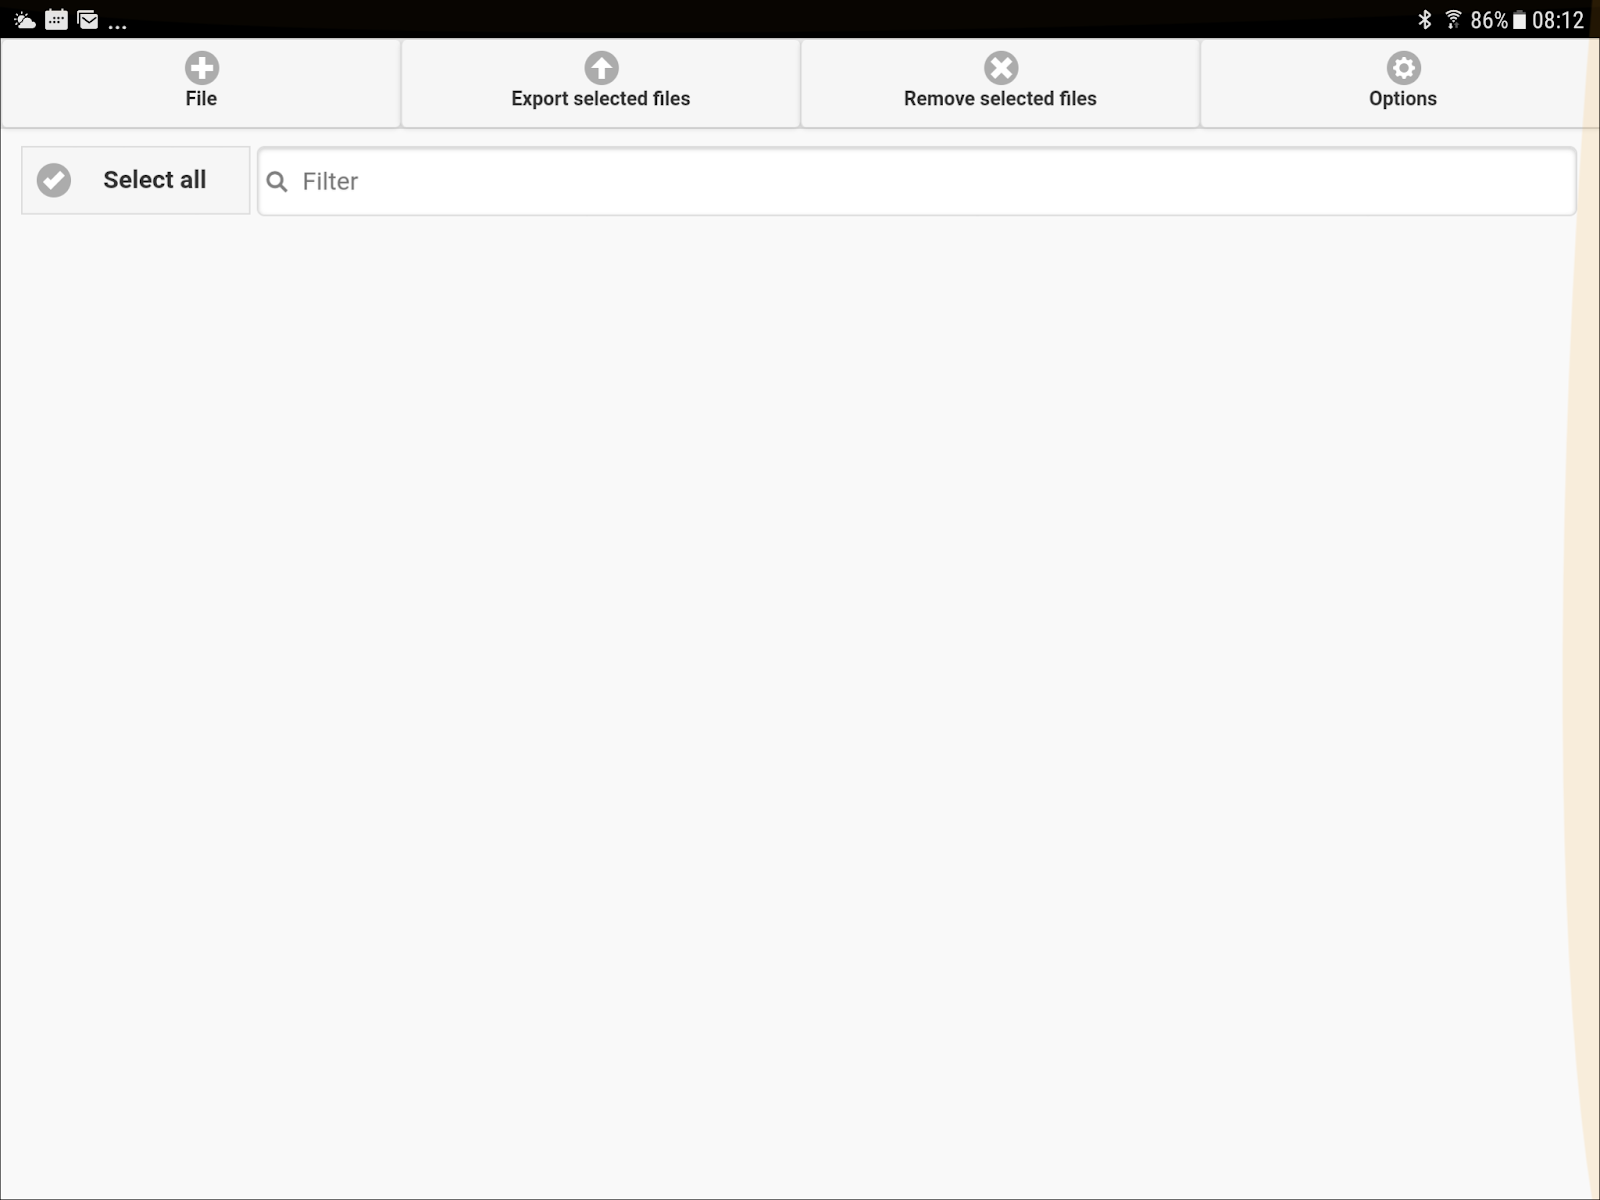
Click on the 'File' button at the top left and you will get a new window:
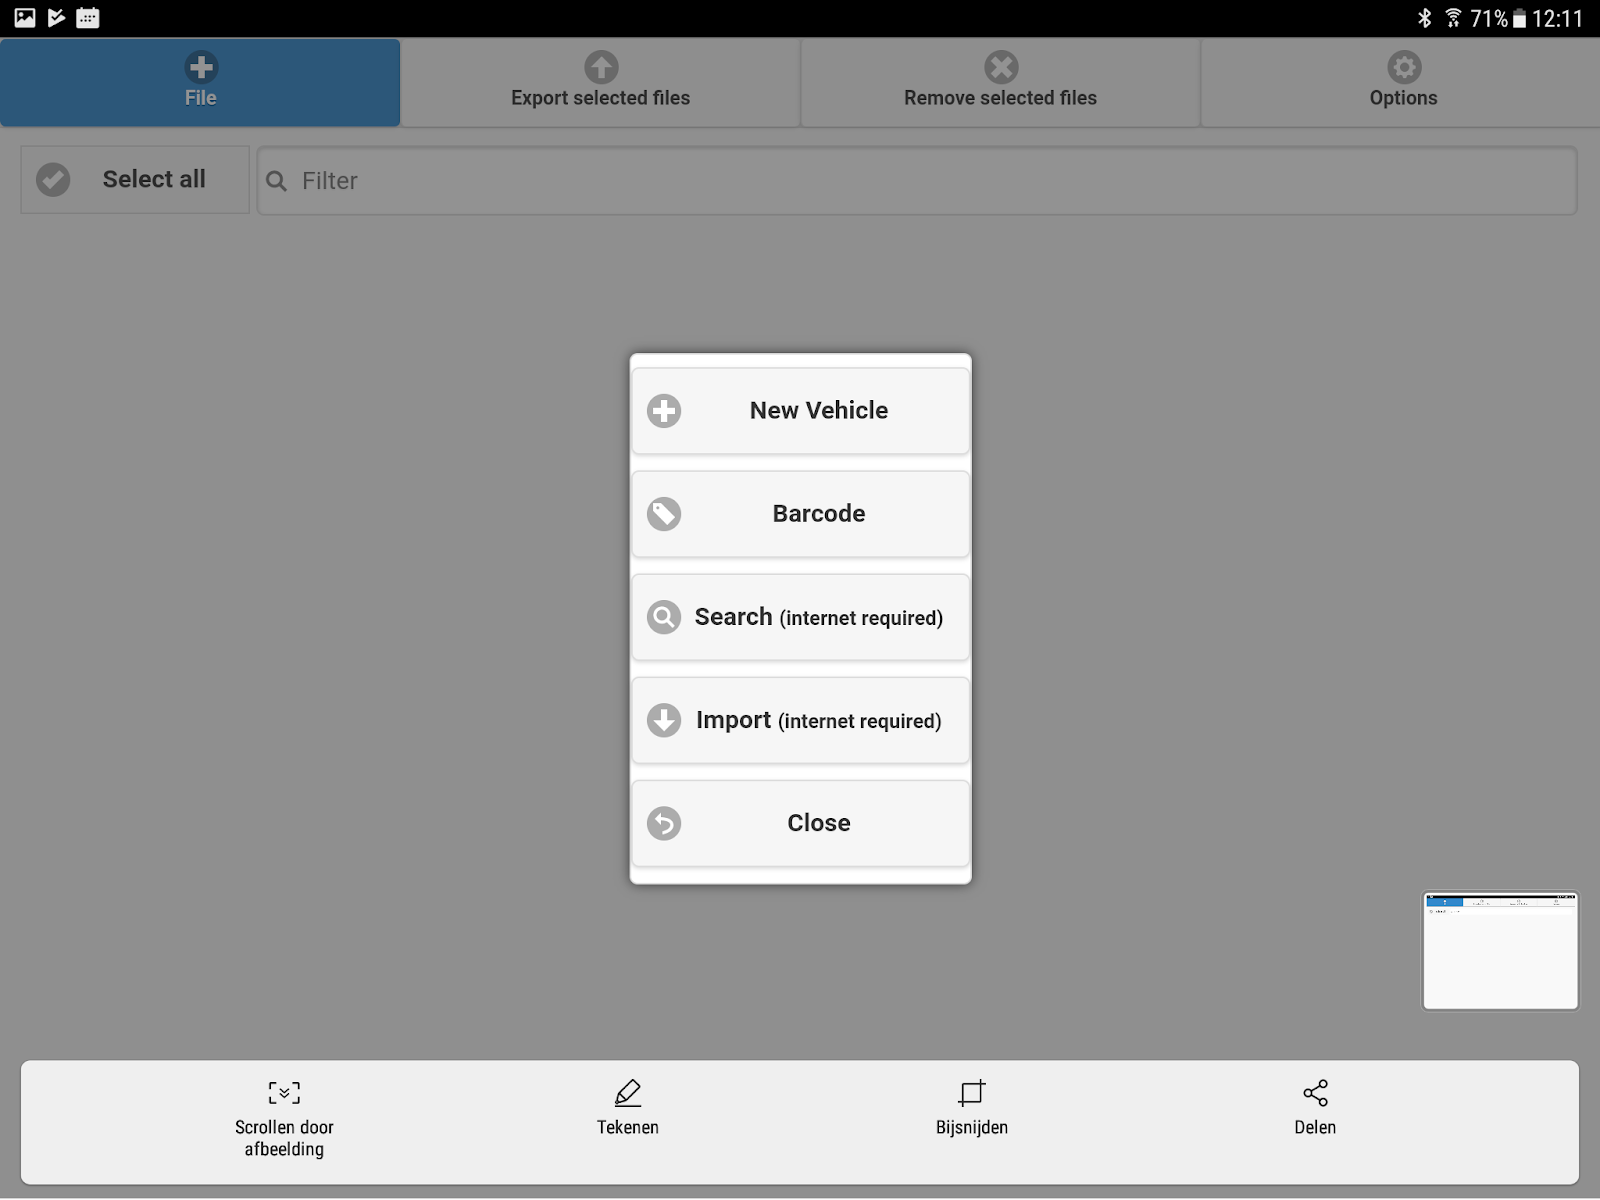
Click the "New vehicle" button to create a new job.
Then enter the license plate. You also have the option to scan the QR code that is located on the certificate of registration of the vehicle owner. To do this, press the button "Scan QR code" and place the red line that will appear above the QR code on the certificate.

Complete the additional data in the job. The most important is the chassis number, you can scan the barcode located on the certificate of registration. For this click on the 'Scan bar code' button and place the red line above the bar code.
You will be able to take a series of photos by clicking on the camera icon.
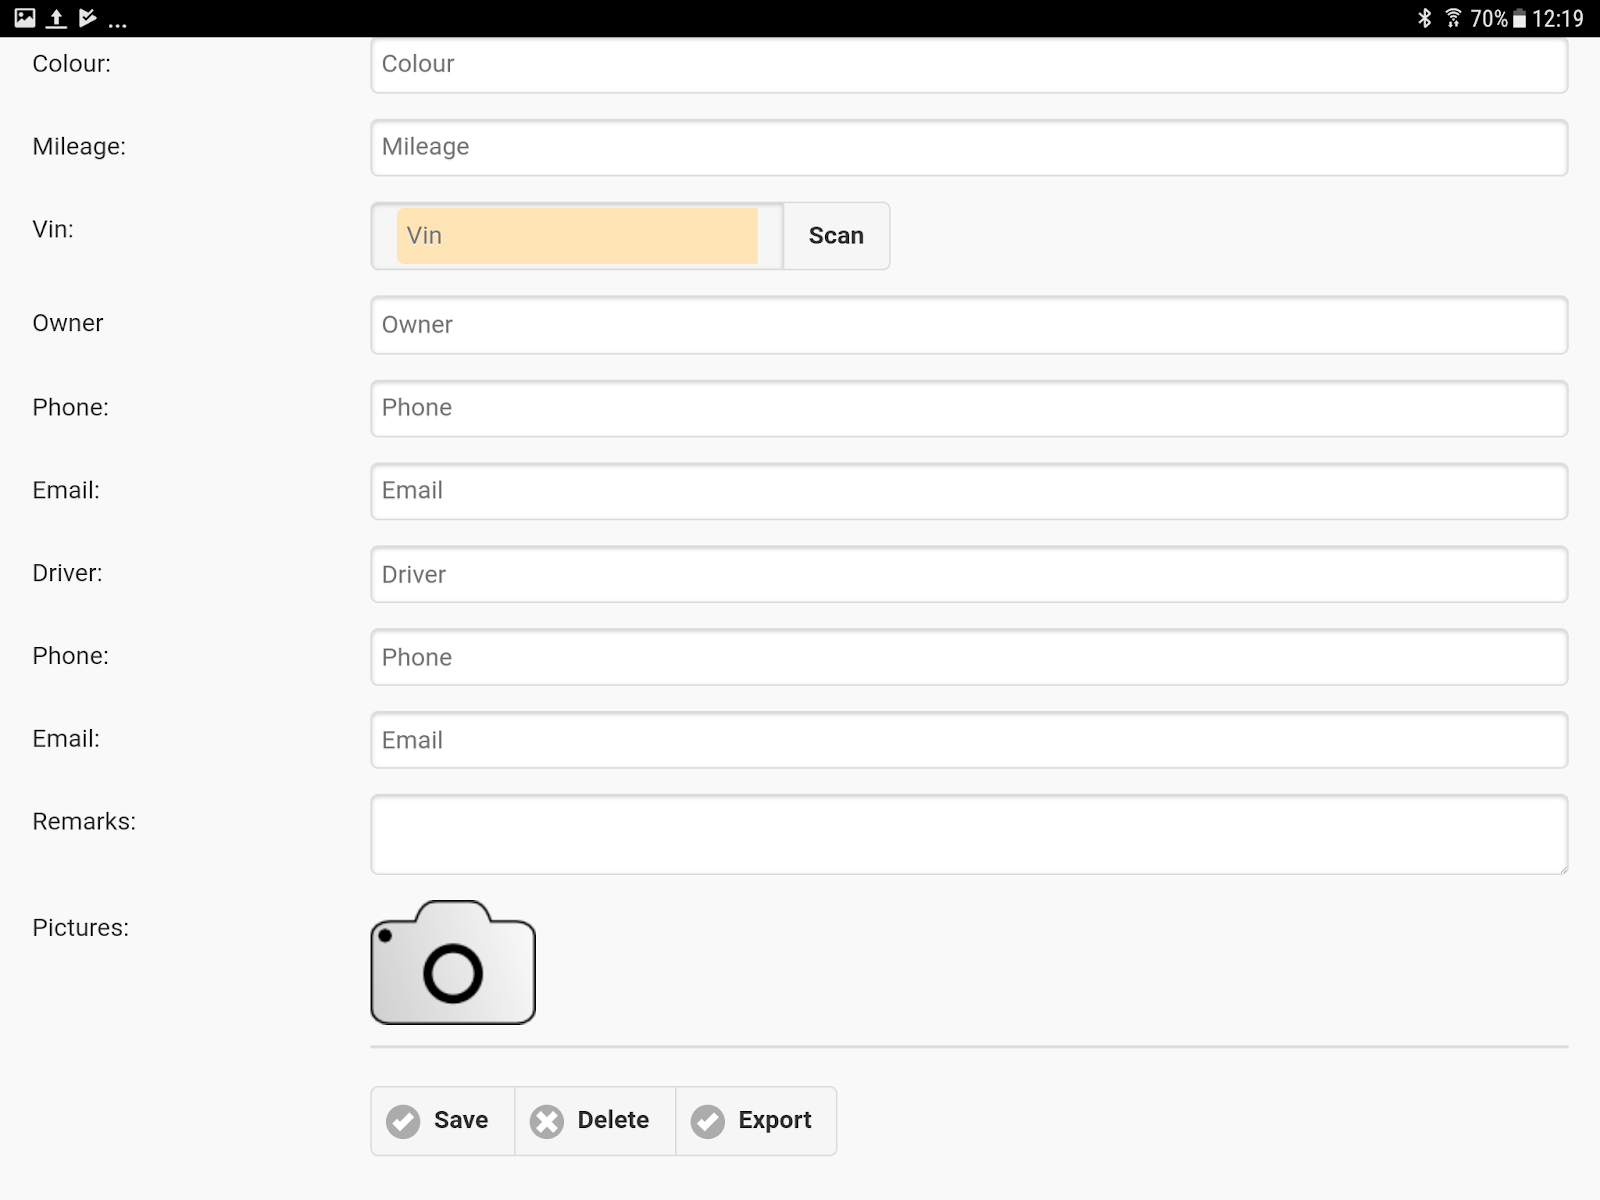
Once you have the necessary data, you click on the "Export" button in order to send all the data filled in PlanManager (to be able to click on the "Export" button, you need an internet connection).
You will now see on your Inspector app that the file has been exported, and you can see the job in PlanManager..
2. First contact with the customer
A customer comes to the reception desk with his vehicle damaged for a quote. How to proceed in PlanManager?
First, we need to check if the vehicle is known in the system.
Tab - Menu list jobs: enter the license plate (or part) and hit the < Enter > key:

If the vehicle is known, the file(s) will be displayed in the list. If it is unknown, the list will be empty and you will need to create a new job.

a. The 3 possible scenarios
i. There is no record in PlanManager for the vehicle.
1. Without the Inspector application
If you do not have our App, note paper (s) damage (s) information and take the necessary pictures. After that, create a new job in PlanManager (by clicking the "New" button at the top of the list of jobs) and retype the information collected - brand, model, chassis number, description of the damage and the owner (and if different from the owner, the driver also). Print the “Repair agreement” and make the customer sign - to do so, click the button with the printer, and select the document in the drop-down menu.

Once the customer has left, you can continue to complete the electronic record in PlanManager by importing pictures into the new job. For this click on the button 'documents':

Then select the pictures by clicking on the 'Add files' button (1) of the window that opens:

When the list is complete, click the "Start upload" button (2). This will import the pictures in the jobfile.
2. With the Inspector app.
If you have our App "Inspector" on tablet or smart camera, create a new job on the Tablet by introducing at least the license plate of the vehicle, take pictures (take pictures of documents also!) and export it to PlanManager. Complete the PlanManager job and enter make, model, chassis number, description of the damage and the owner (and if different from the owner, the driver also). Print and sign the customer repair agreement - click the button with the printer and select the document in the menu drop-down:
II. There is a job for this vehicle and this damage(s) in PlanManager.
The existence of a job for the vehicle and the damage in question is explained by the fact that we have an audatex and that it was imported in PlanManager, or because a job has been created manually.
1. Without the Inspector application
If you do not have our App, note paper (s) damage (s) information and take the necessary pictures. Then fill in PlanManager job checking the info collected on the damage(s), the vehicle and related parties. Print and sign the customer repair agreement - click the button with the printer, and select the document in the menu drop-down. Once the customer has left, you can continue to complete the electronic record in PlanManager by importing pictures into the new job. For this click on the button 'documents' upstairs in the job, then select the pictures by clicking on the 'Add files' button (1) of the window that opens in another window to select files. Select your photos and click 'open '. The files (pictures) selected will be listed in the window displayed above. When the list is complete, click the button (load files) (2). This will put them in the job.
2 with the app Inspector
If you have our App "Inspector" on tablet or smart camera, open the job on the Tablet by the "Search" button (enter the plate number of the vehicle or the file number) and choose the option "Edit". Shoot (take pictures of documents also!) and export information to PlanManager. Complete the PlanManager file with the description of the damage and always check the related parties: the owner, the driver, the insured (because it may be that the customer/owner already existed in PlanManager but that in the mission there was a fault of orthograph in the name which gave rise to the creation of a new customer/owner for example). Print and sign the customer repair agreement - click the button with the printer, and select the document in the menu drop-down:
III. There is an old job in PlanManager for this vehicle but not for this new damage.
This is so, an old job that deals more damage than those for which the customer comes in. In order to make things easier, you can click in the line of this file on an icon that allows you to create a new job by copying existing data (vehicle owner, driver, insured, insurer):

If you click, a new job will be created. Then you can proceed as described under point 2.